
Simple Leche Quemada
This leche quemada recipe is rich, creamy, and nutty, with a melt-in-your-mouth quality that may ruin any diet you had planned to start. Plus, you won’t believe how few ingredients you need. This is the ultimate Mexican candy that true Tex-Mex fans should learn to make.

This post may contain affiliate links, and I will be compensated if you make a purchase after clicking on my links. For more information, please see our privacy policy.
Why I love this recipe
Some recipes in my family have an ancestral vibe. I can almost picture my grandmother making this leche quemada over her stove while managing a few dishes on the other burners. It’s my favorite after-dinner treat, almost like the Mexican version of the Andes mint.

Here’s what you can expect:
- A low and slow cooking process. This candy takes about an hour to make, from start to finish. There aren’t any easy shortcuts, so be prepared to watch closely and enjoy the process.
- Smooth, creamy texture. These candies are much softer than a caramel, and you hardly need to chew them because the texture is so delicate.
- Ultra sweet flavor, like a praline. One candy is typically satisfying, given the richness of this recipe. It has the sweetness of a pecan praline but with less chewiness.
Check out the full recipe at the end of this post. Please keep reading for helpful tips, especially regarding cooking times.
What is leche quemada?
Leche quemada means “burnt milk” in Spanish, but that translation doesn’t do justice to its sweet, caramel-like flavor.
This traditional Mexican candy has no hint of anything charred or overly toasted. It’s just a creamy, buttery delight that dissolves in your mouth. The name simply refers to the magical transformation of sugar into a caramelized form after cooking it on the stove.

Leche quemada ingredients
You’ll only need evaporated milk, sugar, and pecans to make leche quemada. The trick to achieving the right texture is all in the cooking temperature and time.
A whisk is helpful to smooth the candy during the cooling process, and a cookie scoop helps to shape the candies as well.

Tips for Cooking Leche Quemada

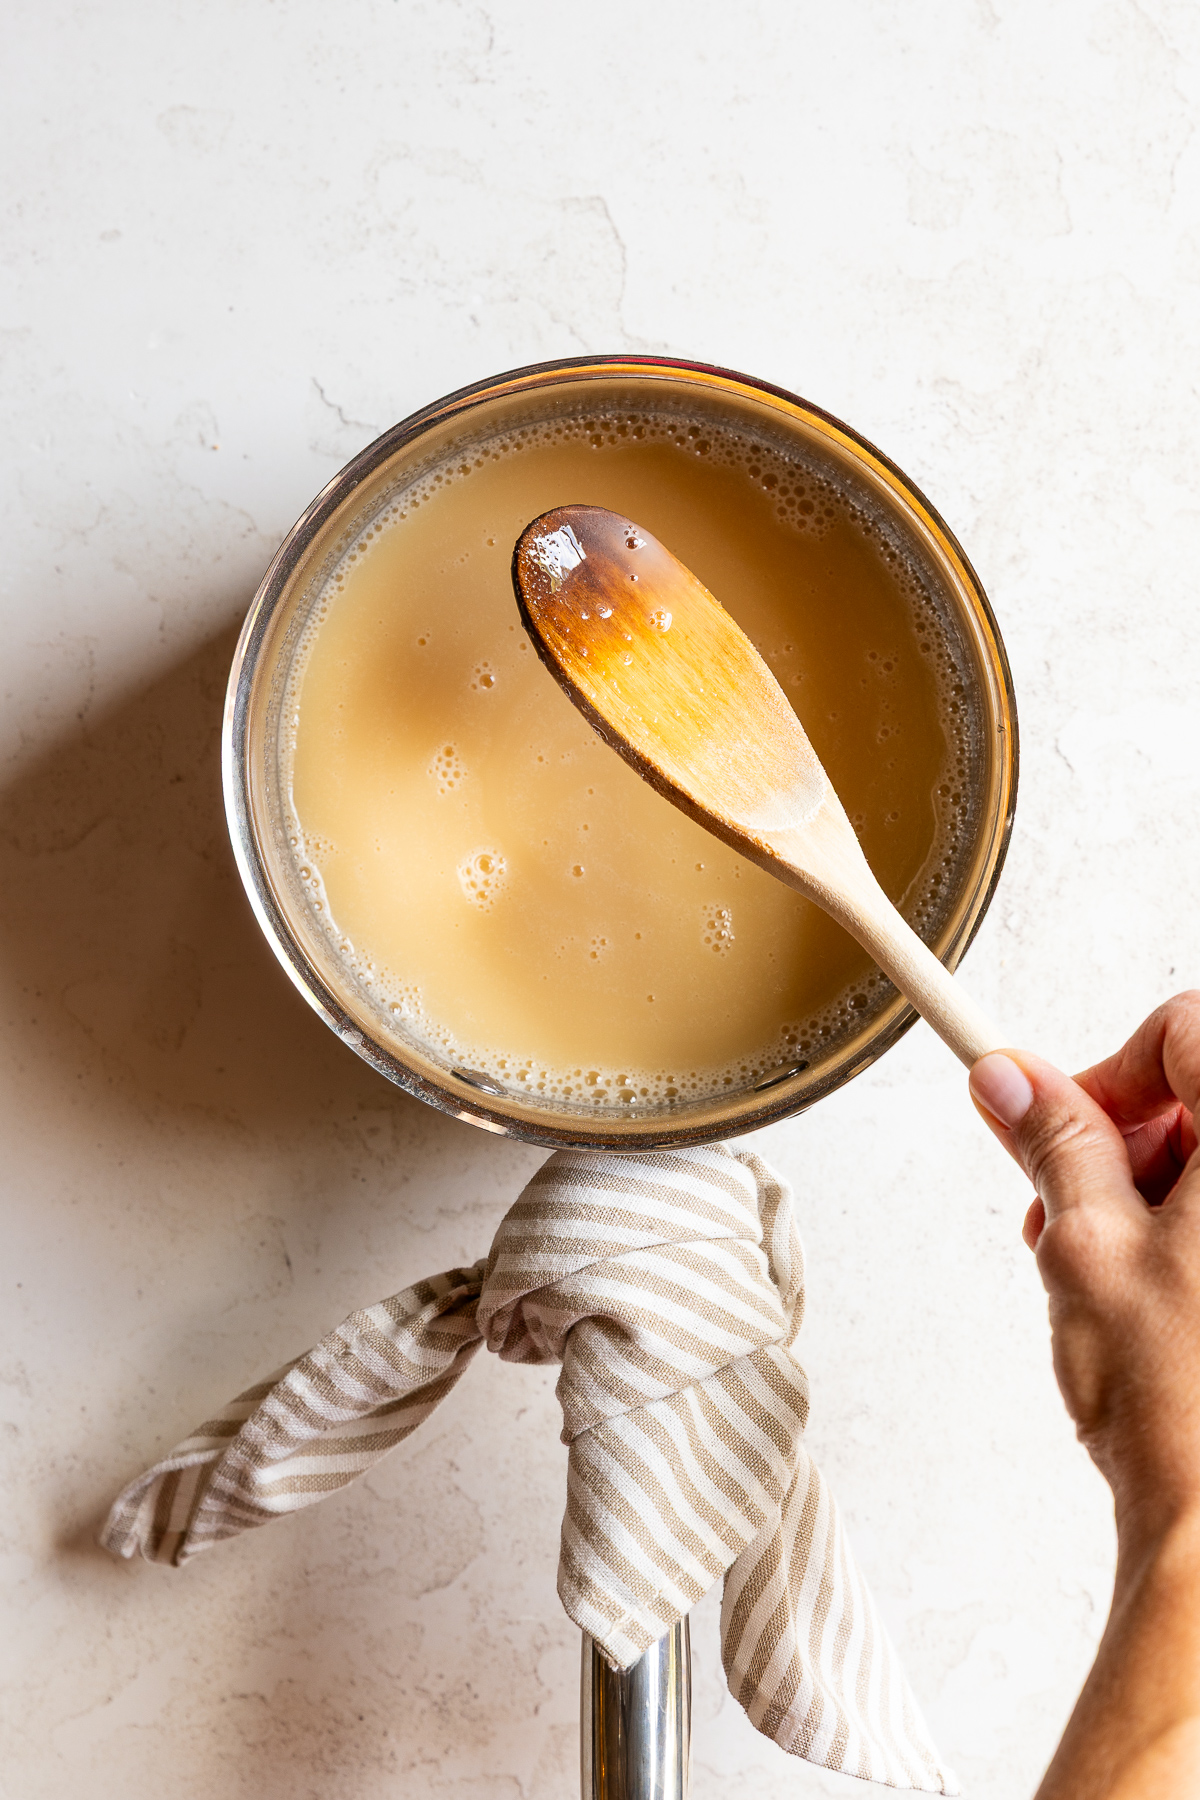
Mixture at the start 
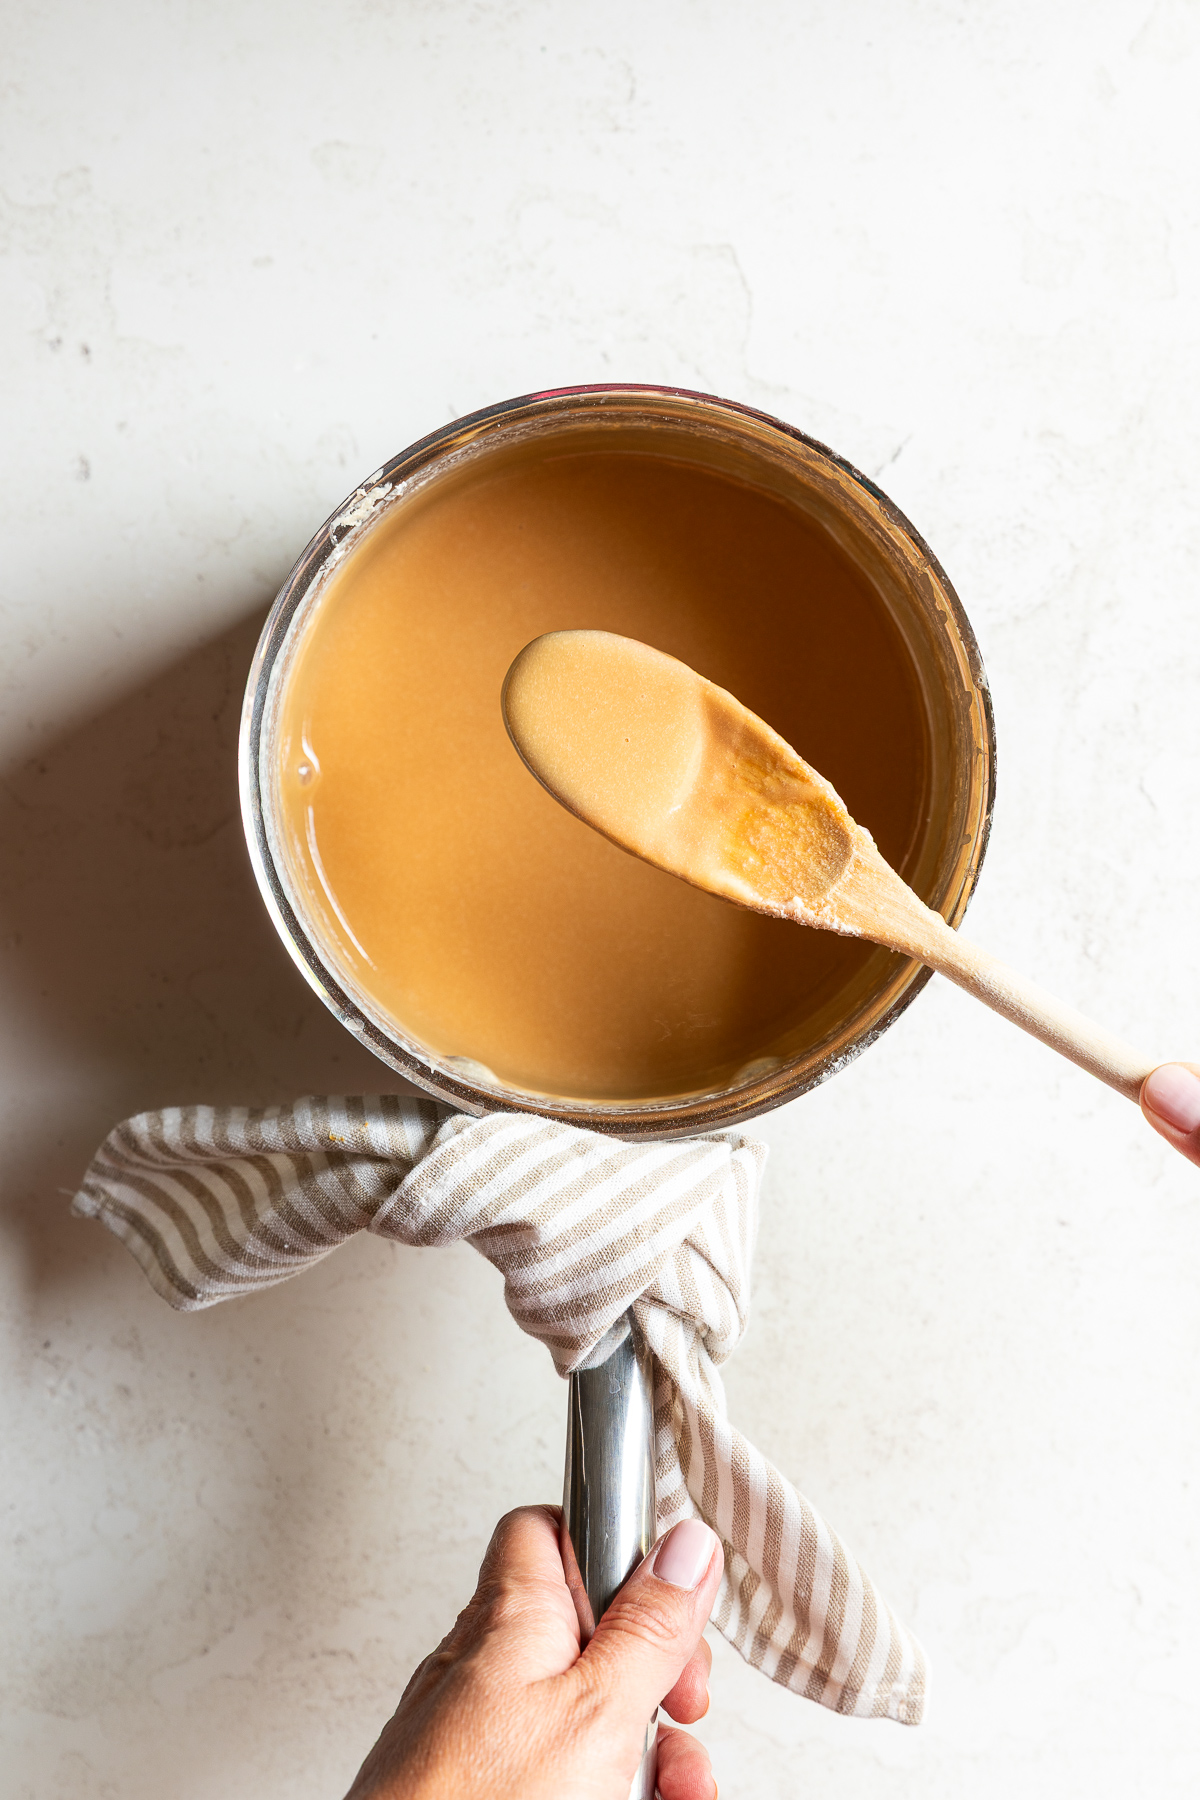
Leche quemada after cooking
Storing leche quemada
You can store your finished leche quemada candies in an airtight container, preferably individually wrapped, for up to 1-2 months, if not longer.
You can also try freezing the candy, though the smooth consistency may change after freezing.
More Desserts to Try
If you love the creamy texture of this leche quemada, try making my classic flan. It’s the perfect dessert for sharing, especially on special occasions.

Leche Quemada
Equipment
- Wax paper
- Cookie sheet
- Candy thermometer optional
- Cookie scoop optional
- Whisk optional
Ingredients
- 1 can evaporated milk (12-ounce)
- 2 cups white granulated sugar
- 1 cup pecan halves (raw or toasted)
Instructions
- If desired, toast the pecans in the oven at 350℉ (177℃) for 5 minutes.
- Add the sugar and evaporated milk to a medium-sized saucepan. Stir to dissolve the sugar and cook over medium to low heat, stirring frequently. Adjust the temperature as needed to maintain a low boil, and watch the pot carefully to prevent the mixture from boiling over.
- After about 42-45 minutes, the mixture will thicken to a pudding-like consistency. As you stir, the mixture should be thick enough to give glimpses of the bottom of the pan. If using a candy thermometer, the temperature will read around 225℉ (107℃).
- Remove the pan from the heat and let the mixture cool for 8-10 minutes. Whisk the leche quemada periodically to keep it smooth as it cools.
- Once the leche quemada thickens slightly, use a cookie scoop or small spoon to place a dollop onto a cookie sheet lined with wax paper.
- Add a pecan half in the center of the leche quemada before it cools completely.
- After the candy is completely cooled, individually wrap the leche quemada candies in food plastic wrap or store them in an airtight container for up to 1-2 months.


Can you add chopped pecans into the candy or would that ruin the texture?
Yes, you can definitely add that toward the end when you are scooping the mixture onto the paper. It shouldn’t change the texture and will just end up more like a praline…still delicious.
This sounds wonderful! Do you have to stir the entire time it’s at a low boil? Can’t wait to make this!
Hi Ashley! It’s a great treat, especially around the holidays. You don’t have to stir constantly, but you do want to stir frequently so the mixture doesn’t burn on the bottom of the pot. I usually give it a stir every couple of minutes. That’s also a good opportunity to check the consistency. I hope this helps! -Crissy
It was exactly what I was looking for! I spread it out and topped with pecans. Yummy, thank you!
That’s so wonderful to hear, Cathy! Thanks or the nice comment and rating. It’s a family favorite recipe. So simple, but delicious.
These look so yummy! I’m a big fan of pecans and with only three ingredients I may have to try making them!
Thanks so much, Kim! These are a family favorite, and now we have our friends hooked too. I hope you enjoy them!